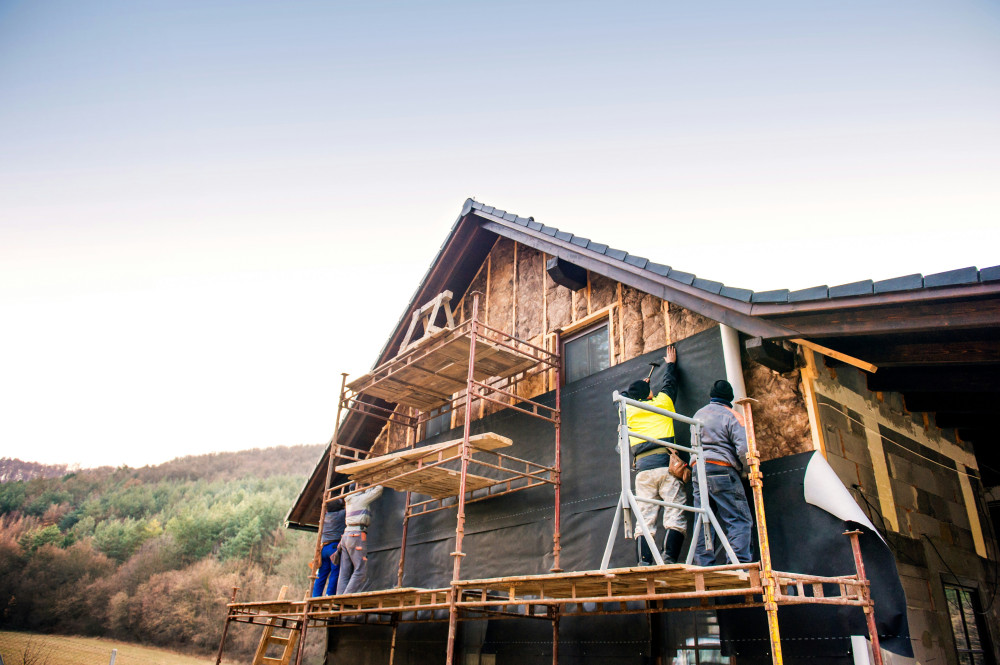
Prepare the Attic Before You Start Insulating

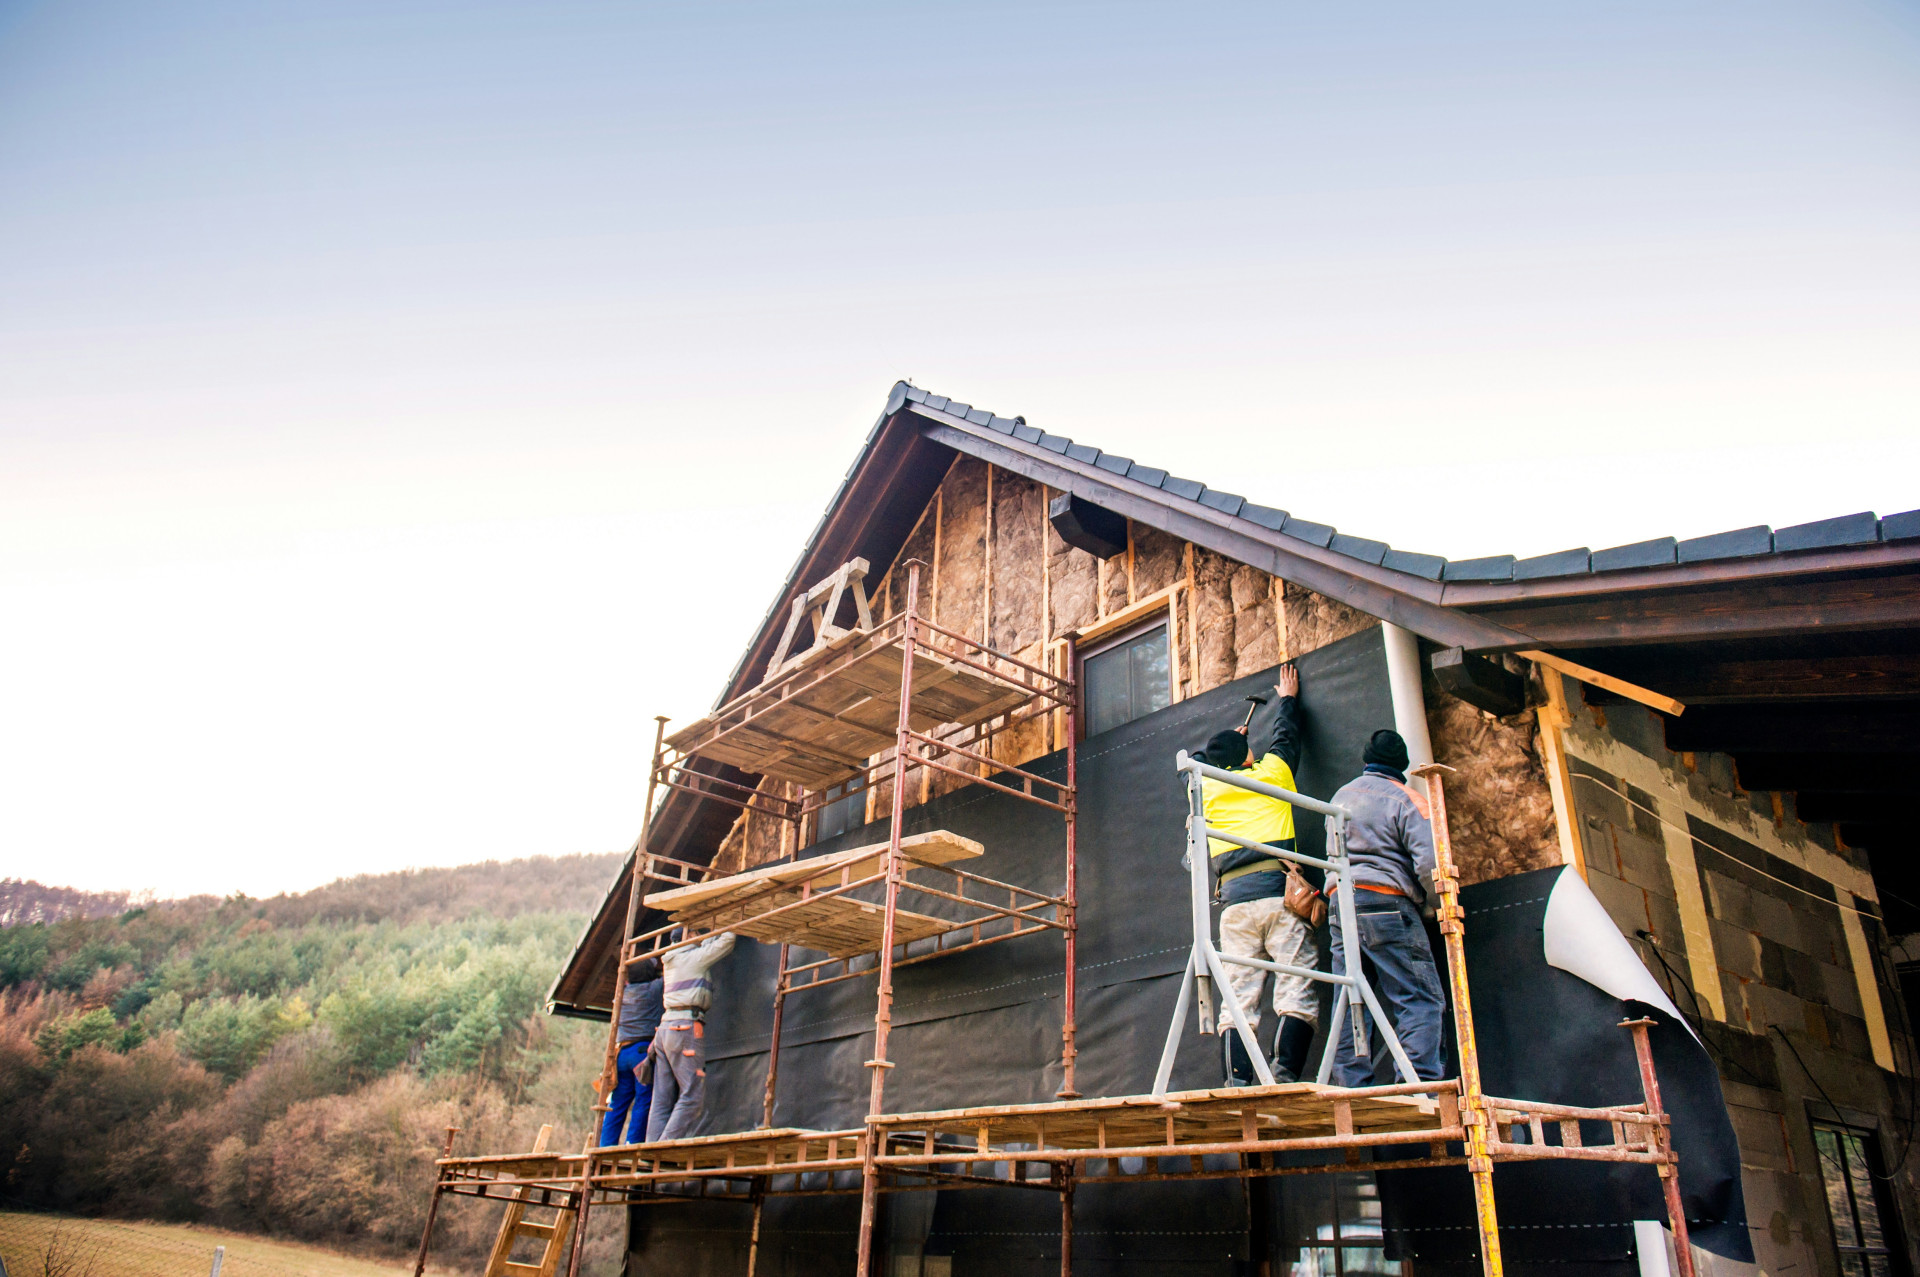
Prepare the Attic Before You Start Insulating
Adding insulation to your attic is one of the most effective ways to improve your home’s energy efficiency and comfort. But before you start rolling out batts or blowing in loose-fill insulation, it’s essential to prepare the space properly. A well-prepared attic not only ensures better insulation performance but also helps prevent moisture issues, structural damage, and unnecessary expenses down the road. Here’s how to get your attic ready before you insulate.
Begin with a Thorough Inspection
Before buying materials or planning the installation, take time to inspect the attic’s condition. Look for signs of moisture, mold, leaks, or wood rot. Dark stains, musty odors, or damp areas are red flags that need to be addressed before insulation goes in. If you trap moisture under new insulation, it can lead to long-term damage to both the structure and the insulation itself.
Check the roof from the outside as well. Missing shingles, cracked flashing, or damaged vents can all allow water to enter. It’s much easier to fix these problems before the attic is sealed up with insulation.
Clear the Space and Create a Safe Work Area
Attics often double as storage areas, but before you start insulating, clear out boxes, furniture, and other stored items. You’ll need full access to the attic floor and joists to work efficiently and safely.
Make sure the area is well-lit and that you have a sturdy ladder or attic stairs. If you’ll be walking on joists, lay down temporary planks or boards to create a stable walkway and prevent stepping through the ceiling below.
Check for Air Leaks and Seal Them
Air leaks can significantly reduce the effectiveness of your insulation. Before insulating, seal gaps and cracks around plumbing vents, electrical wiring, recessed lights, and attic hatches using caulk or expanding foam. Pay special attention to areas where warm air from the living space can escape into the attic — sealing these leaks will help keep your home warmer in winter and cooler in summer.
Inspect and Plan for Vapor Barriers
In many U.S. climates, a vapor barrier (or vapor retarder) is recommended to prevent warm, moist indoor air from reaching the cold attic surfaces where it can condense. If your attic already has a vapor barrier, check that it’s intact and properly sealed. Tears or gaps should be repaired with appropriate tape or replaced if necessary. If you’re adding new insulation, follow local building codes and manufacturer guidelines to determine whether a vapor barrier is needed and where it should be placed.
Ensure Proper Ventilation
Good ventilation is key to a healthy attic and long-lasting insulation. Without it, moisture can build up, leading to mold growth and roof damage. Check that soffit vents, ridge vents, or gable vents are open and unobstructed. Clean out any dust, debris, or insulation blocking airflow. When adding insulation, use baffles or vent chutes to maintain a clear air path from the soffits to the ridge.
Prepare Electrical and Plumbing Systems
Before insulating, inspect electrical wiring, junction boxes, and light fixtures. Old or damaged wiring should be evaluated by a licensed electrician. Recessed lights that aren’t rated for contact with insulation (non-IC rated) need protective covers or clearance to prevent overheating.
If there are water pipes in the attic, insulate them separately to prevent freezing once the attic becomes colder after insulation is added. Hot water pipes can also be wrapped to reduce heat loss.
Plan for Access and Storage
Once insulation is installed, accessing the attic can become more difficult. If you plan to use the space for occasional storage, designate a small area and install raised platforms or walkways above the insulation. Avoid compressing the insulation, as this reduces its effectiveness. For most homeowners, it’s best to insulate the entire attic floor and limit storage to a small, well-supported section.
Læs også:

Safety First
Working in an attic can be dusty and cramped, so take safety precautions. Wear gloves, a dust mask or respirator, long sleeves, and safety glasses — especially when handling fiberglass or mineral wool. Be mindful of where you step, and never walk on exposed drywall. Keep a flashlight handy, and if you’re unsure about electrical or structural issues, consult a professional before proceeding.
A Solid Start for a More Efficient Home
Preparing your attic before insulating isn’t just a preliminary step — it’s an investment in your home’s comfort, safety, and energy efficiency. By addressing moisture, ventilation, air leaks, and access ahead of time, you’ll ensure that your insulation performs as intended for years to come. With a well-prepared attic, you can look forward to lower energy bills, fewer maintenance issues, and a more comfortable home in every season.
Læs også: