Prevent Moisture in Masonry with a Properly Built Roof Eave

Prevent Moisture in Masonry with a Properly Built Roof Eave
Moisture in masonry is one of the most common and damaging issues in American homes. It can cause efflorescence, spalling, cracking, and in severe cases, mold growth and structural deterioration. One of the most overlooked sources of moisture problems is a poorly designed or constructed roof eave—the transition between the roof and the exterior wall. Here’s why the roof eave is so important and how to make sure it’s built to protect your home.
What Is a Roof Eave—and Why Does It Matter?
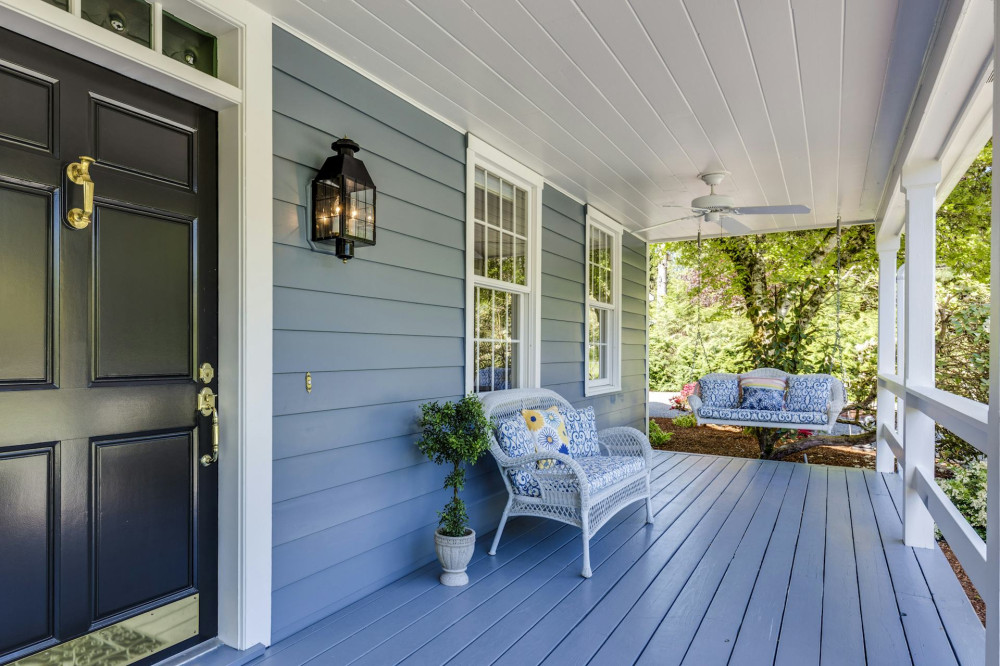
The roof eave is the lower edge of the roof that extends beyond the exterior wall. Its main job is to direct rainwater away from the wall and into the gutter system. At the same time, it shields the masonry from wind-driven rain and helps ventilate the roof assembly.
A properly built roof eave ensures that:
- rainwater is safely directed away from the wall,
- the roof deck and attic are properly ventilated,
- and moisture cannot wick into the roof or wall structure.
If the eave is not built correctly, water can run behind the gutter or down the face of the wall—leading to staining, freeze-thaw damage, and long-term deterioration.
Læs også:
Common Eave Construction Mistakes
Several common mistakes can lead to moisture problems in masonry:
- Insufficient overhang – A short eave doesn’t provide enough protection from rain, allowing water to hit and soak into the wall.
- Improper flashing or drip edge installation – Without proper flashing, water can seep behind the fascia or gutter and into the wall cavity.
- Poor ventilation – Without adequate airflow at the eave, moisture can accumulate in the attic, causing condensation and mold.
- Clogged or misaligned gutters – Overflowing gutters can dump water directly onto the masonry below.
These issues may seem minor, but over time they can cause significant damage, especially in older homes with solid brick or stone walls that lack modern moisture barriers.
How to Build a Proper Roof Eave
Building a roof eave that effectively protects your masonry requires attention to detail and an understanding of how water behaves. Here are the key principles:
-
Extend the roof overhang sufficiently The eave should project far enough to keep rainwater off the wall—typically 12 to 24 inches, depending on local climate and roof pitch. In areas with heavy rainfall, a longer overhang provides better protection.
-
Install a continuous drip edge A metal drip edge should be installed along the eave to guide water into the gutter and prevent it from wicking back under the shingles or into the fascia.
-
Ensure proper gutter installation and slope Gutters should be securely fastened and sloped about 1/8 inch per foot toward the downspout. This ensures smooth drainage and prevents overflow during heavy rain.
-
Include soffit ventilation Ventilation openings at the eave allow fresh air to enter the attic and exit through ridge vents. This airflow helps prevent condensation and keeps the roof structure dry.
-
Use durable, moisture-resistant materials Choose treated lumber for fascia boards, corrosion-resistant fasteners, and high-quality flashing materials. These components must withstand temperature changes, humidity, and UV exposure.
-
Seal all transitions carefully The junctions between the roof, fascia, and wall should be tightly sealed with appropriate flashing and sealants. Even small gaps can allow water intrusion.
Maintenance—The Key to a Dry Wall
Even the best-built eave requires regular maintenance. Leaves, twigs, and debris can clog gutters and downspouts, causing water to overflow and run down the wall. To prevent this:
- clean gutters and downspouts at least twice a year,
- check for loose or damaged flashing,
- and inspect the masonry below the eave for discoloration or damp spots.
If you notice peeling paint, efflorescence, or damp patches, address the issue promptly. Early intervention can prevent costly repairs later.
When to Call a Professional
While some maintenance tasks are simple, designing or repairing a roof eave correctly often requires professional expertise. A qualified roofer or mason can assess whether your eave provides adequate protection and make improvements if needed. This is especially important for older homes or when replacing a roof.
A professional inspection can identify hidden moisture issues and ensure that your eave meets current building standards—saving you from future water damage and expensive restoration work.
A Small Detail with a Big Impact
The roof eave may not be the most noticeable part of your home, but its role is critical. A well-designed and properly maintained eave protects your masonry from moisture, extends the life of your roof, and keeps your home healthy and dry for decades to come.
Læs også: