Uneven shine on doors and trim? Here’s how to get a uniform finish

Uneven shine on doors and trim? Here’s how to get a uniform finish
When you paint doors and trim, you might notice that some areas look glossier than others. The surface can appear patchy—some spots shiny, others dull. It’s frustrating, especially after you’ve spent time and effort trying to get a smooth, professional look. The good news is that uneven sheen is a common issue, and with the right preparation, technique, and paint, you can fix it—or avoid it altogether. Here’s how to achieve a consistent, even finish on your doors and trim.
Why does uneven sheen happen?
Uneven sheen—sometimes called “flashing” or “shading”—usually comes down to differences in surface absorption, application technique, or drying conditions. The most common causes include:
- Uneven surface porosity: If some areas absorb more paint than others, the sheen will vary. This often happens when you’ve patched or sanded spots without priming them first.
- Skipping or using the wrong primer: Bare wood, patched areas, or previously glossy surfaces need a proper primer to even out absorption.
- Inconsistent application: Applying paint too thickly, too thinly, or not blending it evenly can lead to visible sheen differences.
- Temperature and humidity issues: Painting in hot, dry, or drafty conditions can cause paint to dry too quickly, preventing it from leveling properly.
Understanding the cause is the first step toward preventing the problem next time.
Preparation is everything
A flawless, uniform finish starts long before you open the paint can. Proper prep ensures that the paint adheres evenly and dries consistently.
- Clean thoroughly. Use a degreaser or mild detergent to remove dirt, grease, and residue. Even small traces of oil or silicone can affect sheen.
- Lightly sand the surface. Use fine-grit sandpaper (180–240 grit) to dull glossy areas and smooth imperfections. Wipe away dust afterward.
- Repair imperfections. Fill holes and cracks with wood filler or spackle, then sand smooth once dry.
- Prime as needed. Always prime bare wood, patched areas, or previously glossy surfaces. A quality primer evens out absorption and helps the topcoat look consistent.
Choose the right paint
For doors and trim, a semi-gloss or gloss enamel is typically best—it’s durable, easy to clean, and highlights architectural details. But not all paints behave the same way.
- Water-based (latex) paints dry quickly, have low odor, and clean up easily with soap and water. However, they require careful application to avoid brush marks.
- Oil-based paints level out beautifully and often produce a smoother, more uniform sheen, but they take longer to dry and have stronger fumes.
Whichever you choose, invest in a high-quality paint from a reputable brand. It makes a noticeable difference in both appearance and durability.
How to paint for an even finish
Your painting technique plays a big role in how the final sheen looks. Follow these steps for a professional result:
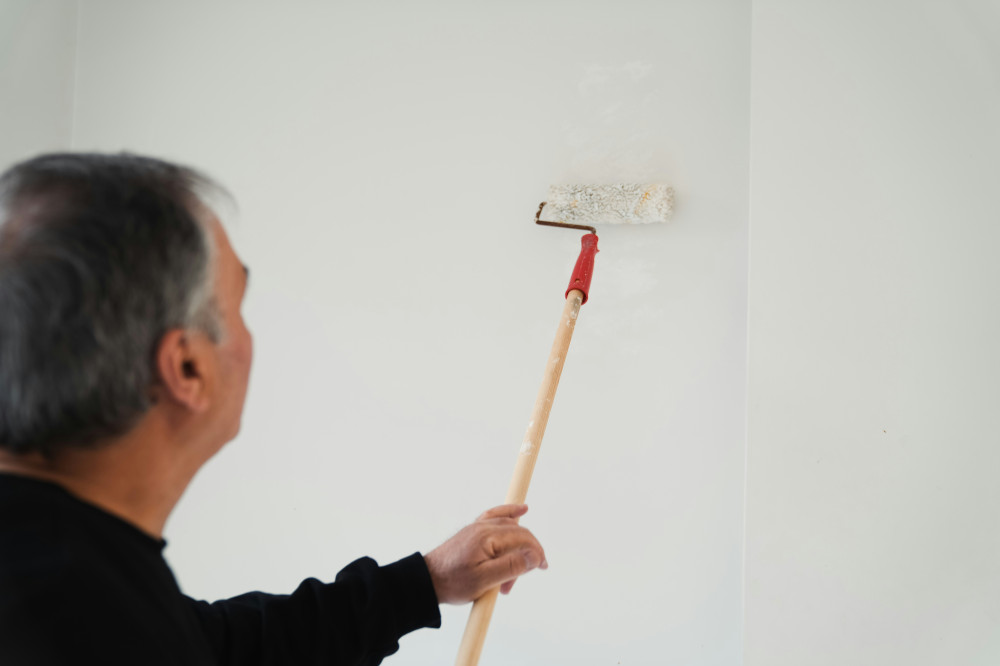
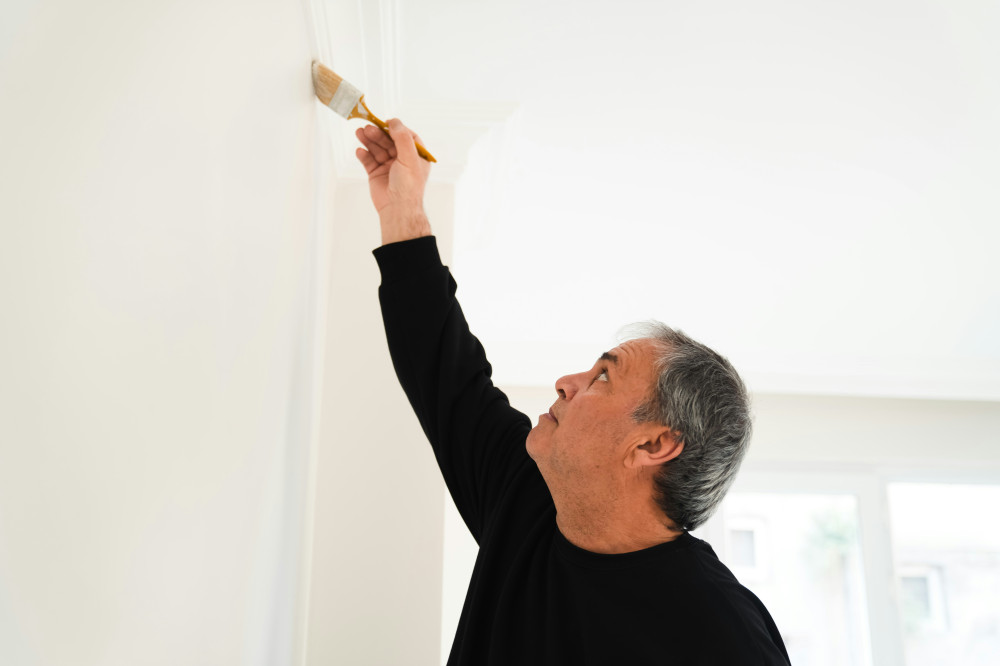
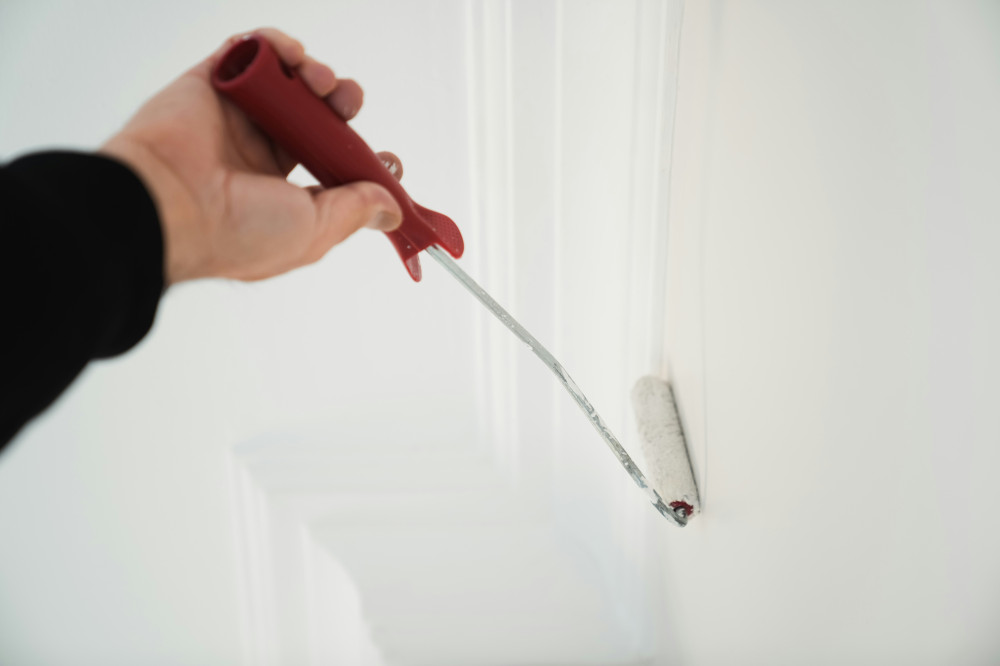
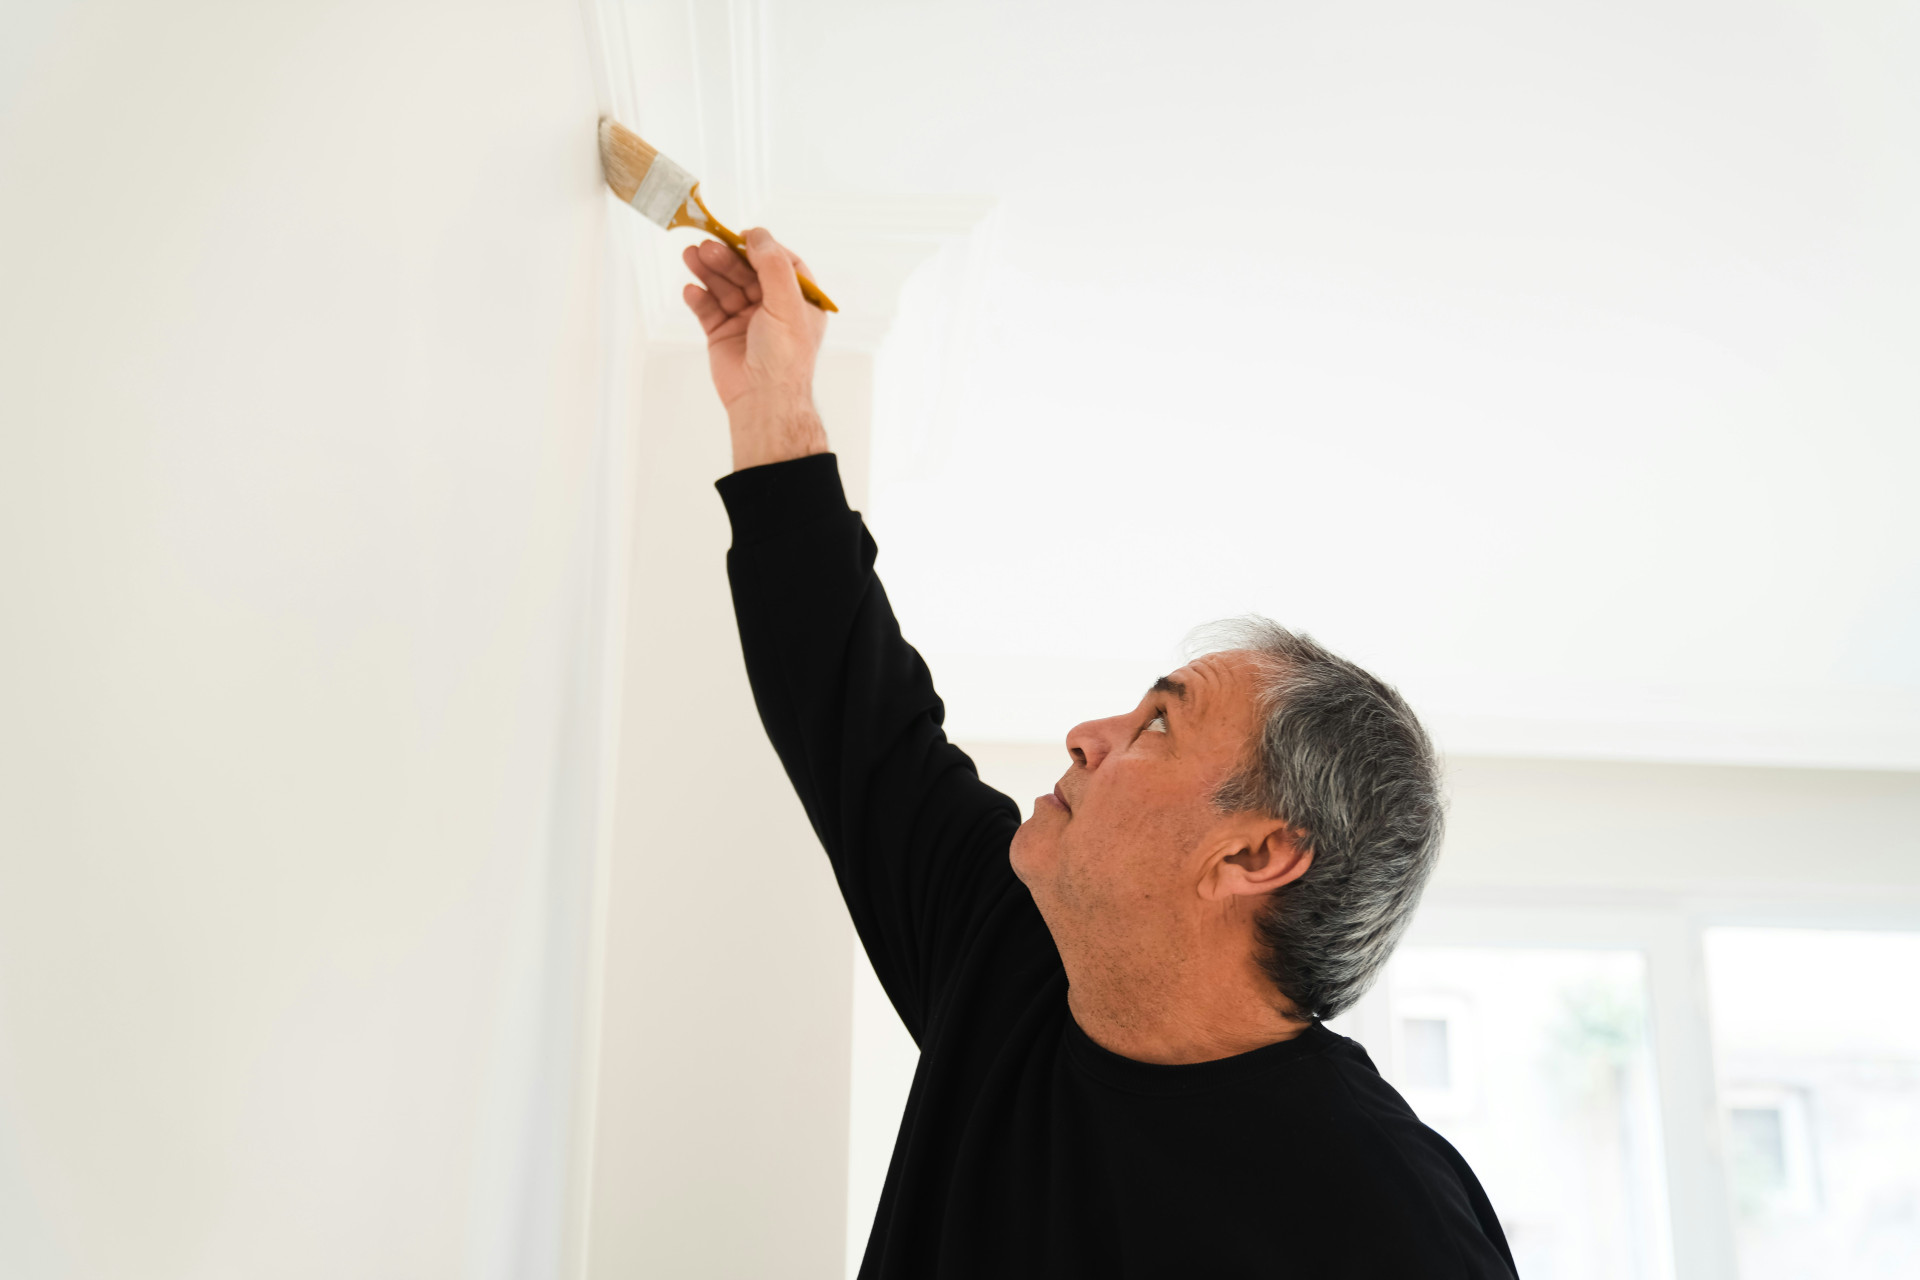
- Use the right tools. A high-quality synthetic brush and a small foam or microfiber roller work best for doors and trim. Use the brush for edges and details, and the roller for larger flat areas.
- Apply thin, even coats. Two thin coats are better than one thick one. Thick paint dries unevenly and can create sheen variations.
- Work systematically. Paint one section at a time, keeping a wet edge to avoid lap marks. Don’t overwork the paint once it starts to dry.
- Control your environment. Avoid painting in direct sunlight or in rooms with strong drafts. Ideal conditions are moderate temperature and humidity.
- Let the paint cure fully. Even if it feels dry to the touch after a few hours, it can take several days for the paint to reach its final sheen.
Læs også:
If the finish is already uneven
If you’ve already painted and notice uneven sheen, don’t panic—it can often be fixed.
- Lightly sand the surface with fine-grit sandpaper to dull the sheen and smooth out inconsistencies.
- Clean off dust and residue.
- Apply another thin, even coat of paint, using consistent technique and working in sections.
If the problem stems from missing primer or uneven absorption, you may need to prime first and then repaint.
A final tip: patience pays off
Most sheen problems happen when you rush. Good painting takes time—time to prep, time to dry, and time to cure. Allow each coat to dry fully before applying the next, and resist the urge to touch up areas too soon. The result will be a smoother, more durable finish that looks great for years to come.
With the right prep, tools, and technique, your doors and trim can have that perfectly even, professional-looking shine you were aiming for.
Læs også: