Avoid Moisture Problems When Insulating – Step-by-Step Guide


Avoid Moisture Problems When Insulating – Step-by-Step Guide
Insulation is one of the most effective ways to save energy and make your home more comfortable. But if the job isn’t done correctly, it can lead to serious moisture issues—mold, rot, and poor indoor air quality. Fortunately, with the right planning and execution, you can avoid the most common mistakes. Here’s a step-by-step guide to insulating your home without creating moisture problems.
Understand How Moisture Moves—and Why It Matters
Moisture always moves from warm to cold and from humid to dry areas. When you add insulation, you change how heat and moisture travel through your home’s structure. If moisture gets trapped inside walls or ceilings, it can condense and cause damage.
Good insulation isn’t just about keeping heat in—it’s also about letting moisture escape safely. That means thinking about vapor barriers, ventilation, and material choices from the very beginning.
Step 1: Inspect the Building Before You Start
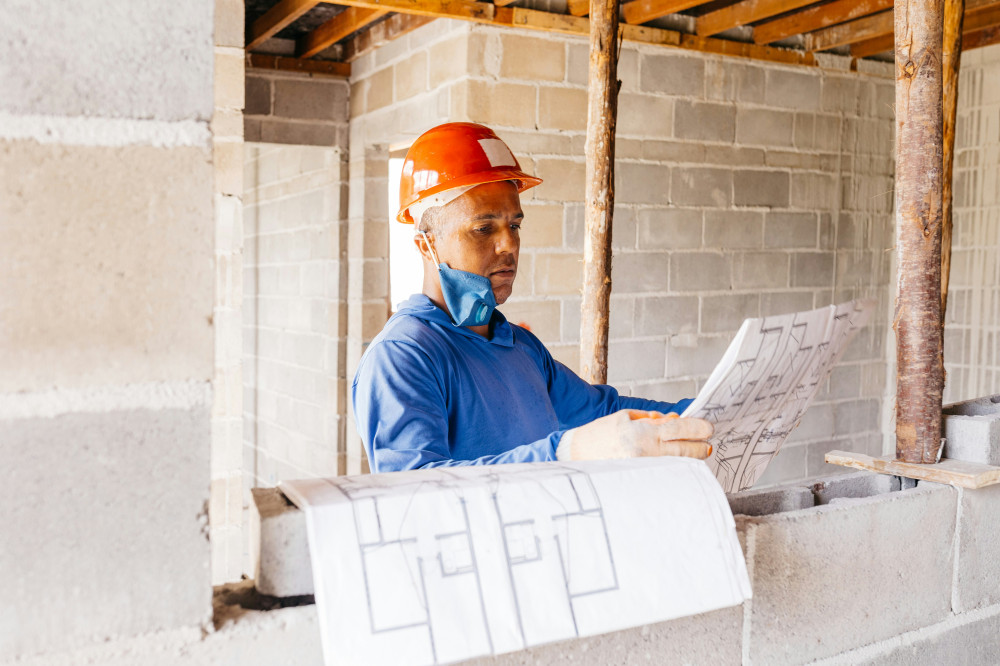
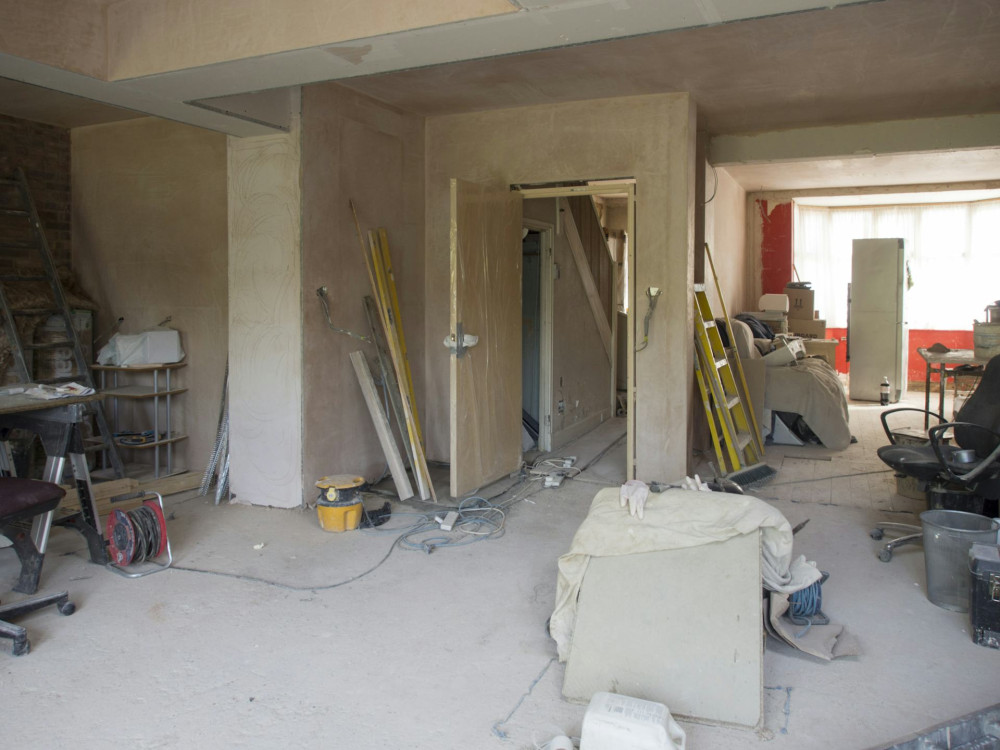
Before you begin, assess the current condition of your home. Check walls, ceilings, and floors for signs of moisture—dark stains, musty odors, or peeling paint are warning signs. A moisture meter can help you get a more accurate reading.
If you find existing moisture problems, fix them before insulating. Otherwise, you risk sealing moisture inside, where it can cause even more damage over time.
Step 2: Choose the Right Insulation Method
There are many ways to insulate a home—attic insulation, wall cavity insulation, basement or crawl space insulation, and exterior wall systems. The best method depends on your home’s age, construction type, and climate zone.
- Attic insulation is often the most cost-effective upgrade but requires proper ventilation to prevent condensation.
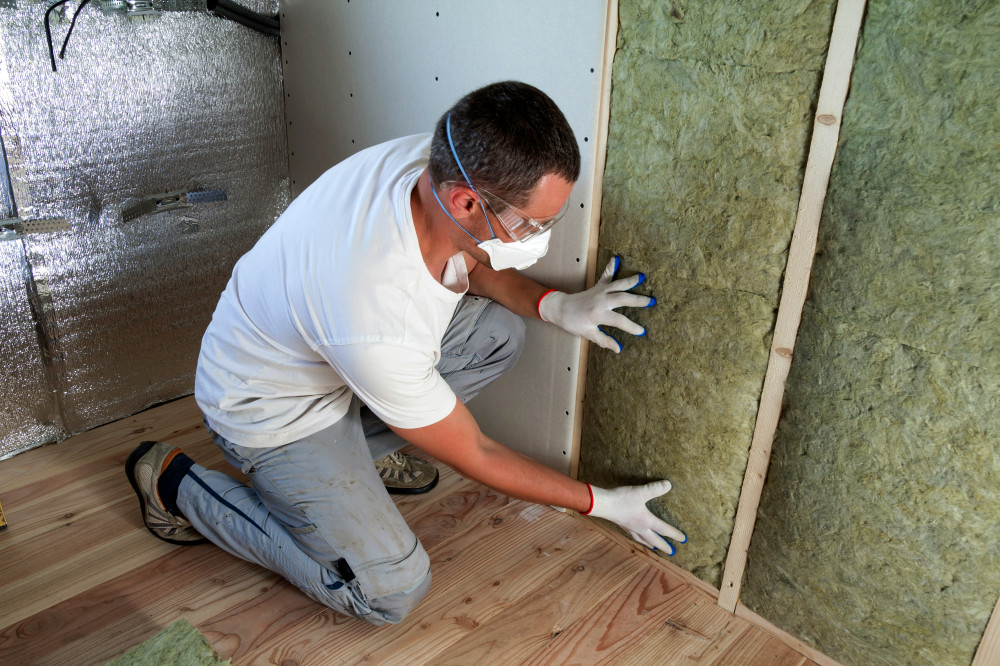
- Wall cavity insulation works well in homes with framed walls but should only be added if the cavity is dry and clean.
- Interior insulation can be an option for older homes but carries a higher risk of condensation if the vapor barrier isn’t installed correctly.
- Exterior insulation provides the best protection against cold and moisture but is more expensive and may require changes to siding or trim.
Always choose a solution that fits your home’s structure and local climate. When in doubt, consult a building professional or energy auditor.
Step 3: Install a Proper Vapor Barrier
The vapor barrier (or vapor retarder) is your main defense against indoor moisture moving into the insulation. It should be placed on the warm side of the insulation—typically the interior side in cold climates—and must be completely sealed. Even small gaps around outlets, seams, or pipes can cause big problems.
Use high-quality tape and sealants designed for vapor barriers, and make sure seams overlap correctly. In attics or sloped ceilings, the barrier should run continuously across all surfaces, including knee walls and adjoining areas.
Step 4: Ensure Adequate Ventilation
When you make your home more airtight, ventilation becomes even more important. Without proper air exchange, moisture from cooking, bathing, and breathing can build up indoors.
- Install fresh air vents in living areas.
- Use exhaust fans in kitchens and bathrooms that vent to the outside.
- Consider a heat recovery ventilator (HRV) or energy recovery ventilator (ERV) if you’re upgrading the entire home’s insulation.
A well-designed ventilation system ensures that moisture leaves the house before it can condense inside walls or ceilings.
Step 5: Pay Attention to the Details
Many moisture problems start at transitions—around windows, doors, roof edges, and foundations. These are areas where different materials meet, and small leaks can lead to big issues.
- Use moisture-resistant materials in exposed areas.
- Avoid compressing insulation, which reduces its effectiveness.
- Eliminate thermal bridges by insulating evenly and sealing gaps.
- Make sure rainwater drains away from the foundation to prevent moisture from wicking upward.
The small details often make the difference between a dry, healthy home and one with hidden moisture damage.
Step 6: Monitor After the Work Is Done
Even the best insulation job needs follow-up. After installation, keep an eye out for signs of moisture—especially during the first year. Measure indoor humidity levels and ventilate regularly.
If you notice condensation on windows or a musty smell, it’s a sign that moisture isn’t escaping properly. Act quickly—the sooner you address the issue, the easier it is to fix.
Læs også:
A Smart Investment in Comfort and Durability
Proper insulation lowers energy bills, improves comfort, and creates a healthier indoor environment. But it requires careful planning and attention to detail. By following these steps—and seeking professional advice when needed—you can ensure your insulation project becomes an investment in your home’s comfort and longevity, not a source of moisture problems.
Læs også: