Prepare the Subfloor Before Installing New Flooring

Prepare the Subfloor Before Installing New Flooring
A beautiful, long-lasting floor doesn’t start with the flooring itself—it starts with what’s underneath. Many homeowners overlook the importance of a properly prepared subfloor, but this step is crucial for achieving a smooth, stable, and durable result. Whether you’re installing hardwood, laminate, vinyl, or carpet, your subfloor must be clean, level, dry, and structurally sound. Here’s a practical guide to help you prepare your subfloor before laying your new flooring.
Assess the Existing Subfloor
Before you begin, identify what type of subfloor you have and evaluate its condition. In most U.S. homes, subfloors are made of plywood, oriented strand board (OSB), or concrete. Each type requires a slightly different approach.
- Plywood or OSB: Check for loose panels, squeaks, or water damage. Secure loose panels with screws and replace any that are swollen or soft.
- Concrete: Look for cracks, moisture issues, or uneven areas. Small cracks can be filled with patching compound, but larger structural cracks may need professional attention.
Your goal is a subfloor that’s solid, clean, and even. Any movement or unevenness can cause your new flooring to shift, squeak, or wear unevenly.
Make Sure the Floor Is Level
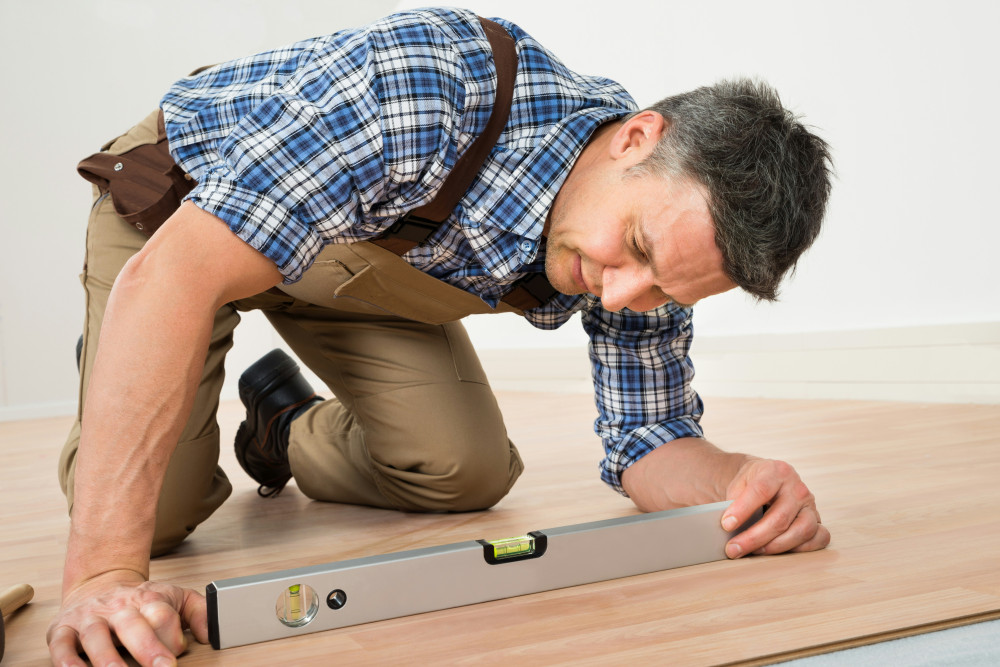
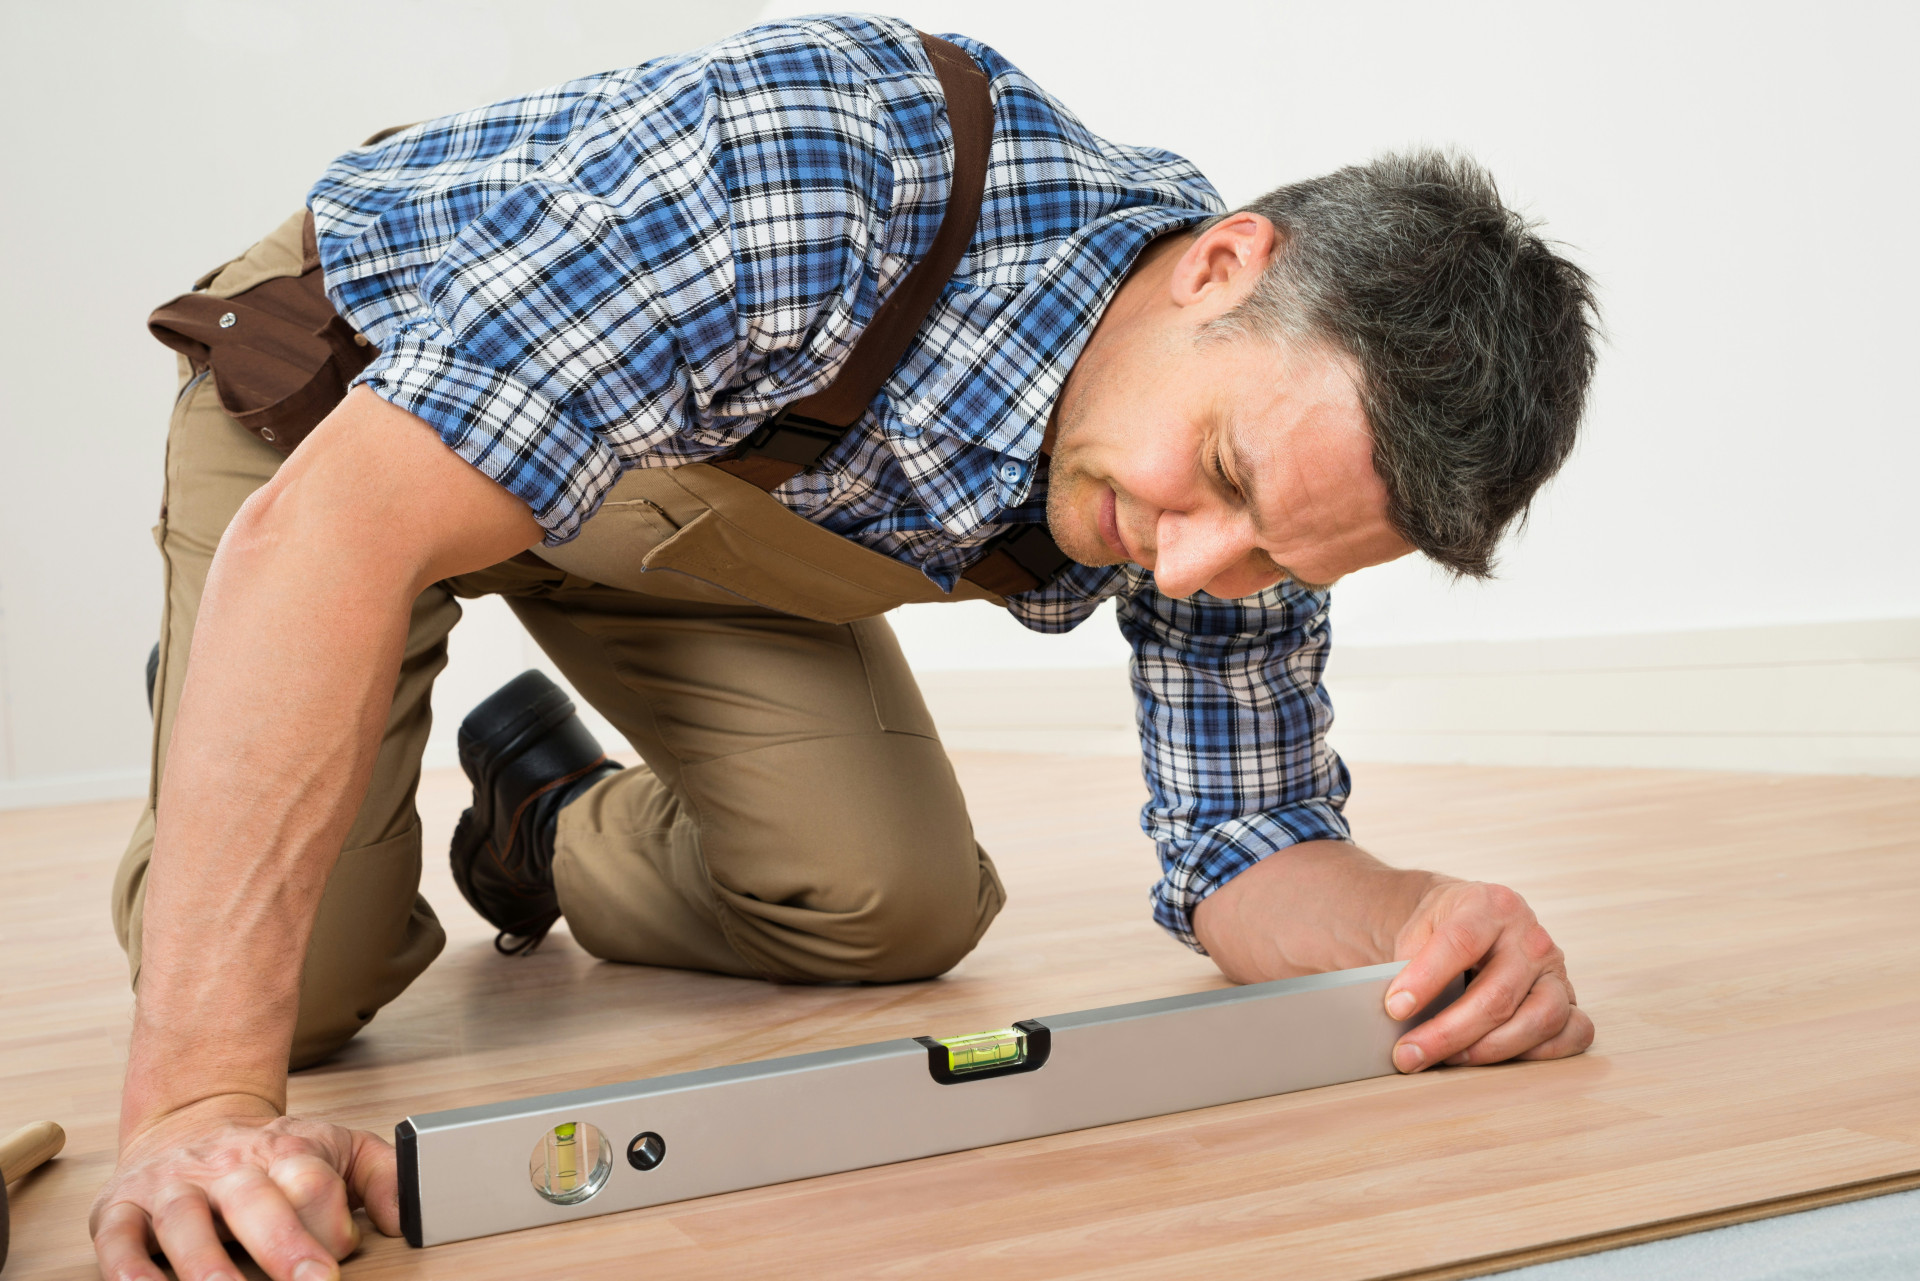
Even minor dips or high spots can cause problems, especially with floating floors like laminate or luxury vinyl plank. Use a long level or straightedge to check for uneven areas.
- Small irregularities can be smoothed out with a leveling compound.
- Larger variations may require sanding down high spots or applying a self-leveling underlayment.
Always check the manufacturer’s installation guidelines—most flooring products specify how much variation is acceptable per foot or per ten feet.
Check for Moisture and Proper Ventilation
Moisture is one of the biggest threats to new flooring. Excess moisture can lead to warping, mold, or adhesive failure.
- Concrete subfloors must be completely dry before installation. Use a moisture meter or perform a plastic sheet test to ensure the moisture level is within the manufacturer’s recommended range.
- Wood subfloors should be dry and acclimated to the home’s humidity level. If the subfloor feels damp or shows signs of mold, address the source of moisture before proceeding.
- Vapor barriers are often required over concrete slabs or above crawl spaces to prevent moisture from seeping into the flooring.
Good ventilation during preparation and installation helps materials acclimate and keeps humidity under control.
Læs også:

Clean Thoroughly
A clean subfloor is essential for proper adhesion and stability. Remove all dust, debris, old adhesive, nails, and staples. Vacuum thoroughly and, if necessary, wipe the surface with a damp cloth—just make sure it’s completely dry before continuing.
If you’re installing new flooring over an existing one, ensure the old surface is firmly attached and free of movement. Any flexing or shifting can transfer to the new floor and cause damage over time.
Choose the Right Underlayment
The underlayment serves several purposes: it smooths out minor imperfections, reduces noise, and can provide moisture protection or insulation. The right choice depends on your flooring type and subfloor.
- Foam underlayment is common under laminate and floating vinyl floors.
- Cork or felt underlayment offers excellent sound absorption.
- Combination underlayment with vapor barrier is ideal for installations over concrete or in basements.
Always follow the flooring manufacturer’s recommendations—using the wrong underlayment can void warranties or shorten the life of your floor.
Let the Flooring Acclimate
Before installation, allow your flooring materials to acclimate to the room’s temperature and humidity. Leave the unopened boxes flat in the installation area for 48–72 hours. This step helps prevent expansion or contraction after installation, ensuring a stable, professional finish.
Preparation Pays Off
Taking the time to properly prepare your subfloor is an investment in the quality and longevity of your new floor. A level, dry, and stable base ensures your flooring installs smoothly and performs well for years to come. With careful preparation, you’ll enjoy a floor that not only looks great but also feels solid and stands the test of time.
Læs også: