Detect Thermal Bridges Early and Save Energy

Detect Thermal Bridges Early and Save Energy
When heat escapes through walls, ceilings, or window frames, it doesn’t just affect your comfort—it also shows up on your energy bill. Thermal bridges are small but powerful energy thieves that many homeowners overlook. Fortunately, they can be detected and fixed before they turn into bigger problems. Here’s a guide to spotting thermal bridges in your home and saving both energy and money by taking action early.
What Is a Thermal Bridge?
A thermal bridge occurs when heat flows more easily through one part of a building’s structure than through the surrounding materials. This typically happens where materials with different insulation values meet—such as at wall-to-window joints, around doors, at the foundation, or in the roof structure.
When heat escapes, the interior surface becomes colder. This can lead to condensation and, in the worst cases, mold growth. So addressing thermal bridges isn’t just about energy efficiency—it’s also about maintaining a healthy indoor environment.
Læs også:
Common Places Where Thermal Bridges Occur
While thermal bridges can appear in many areas, some spots are more prone than others:
- Windows and doors – especially older frames or deteriorated seals.
- Roof and attic – where the ceiling meets exterior walls.
- Floors and foundations – if insulation is incomplete or damaged.
- Balconies and overhangs – metal and concrete conduct heat efficiently.
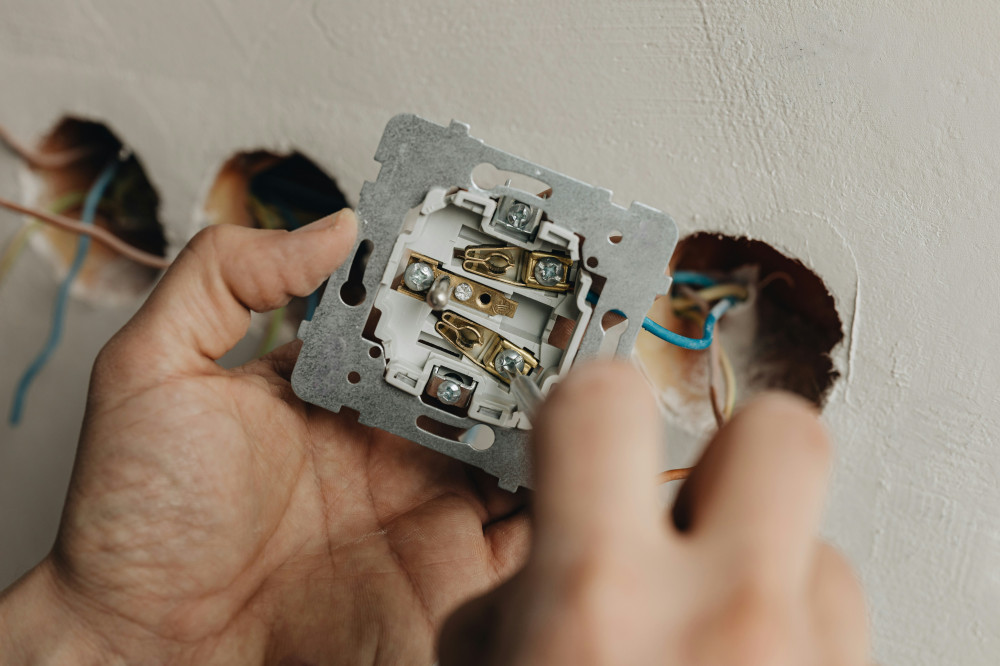
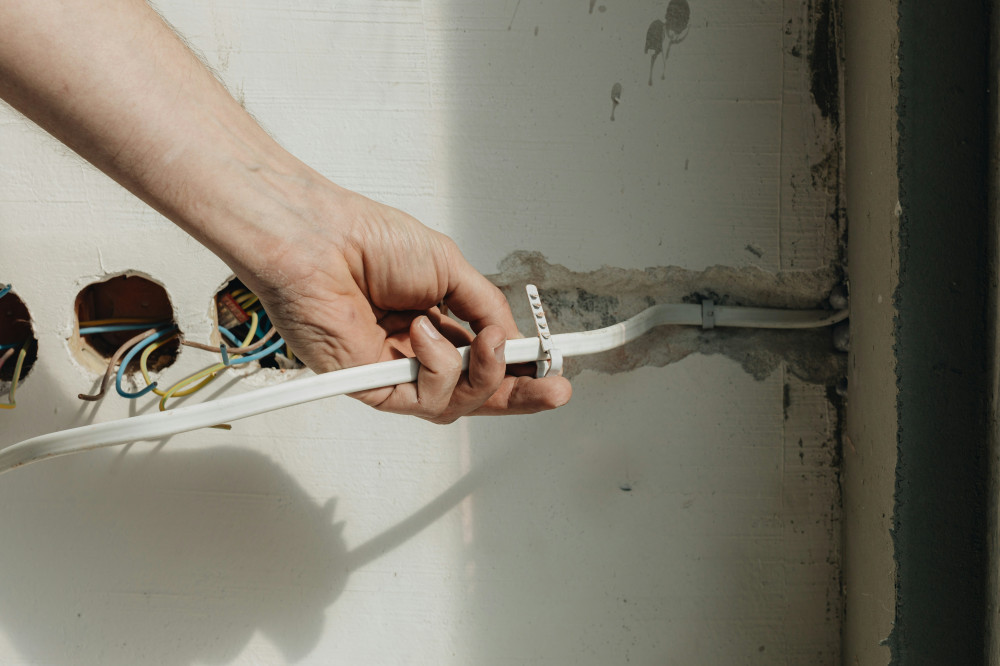
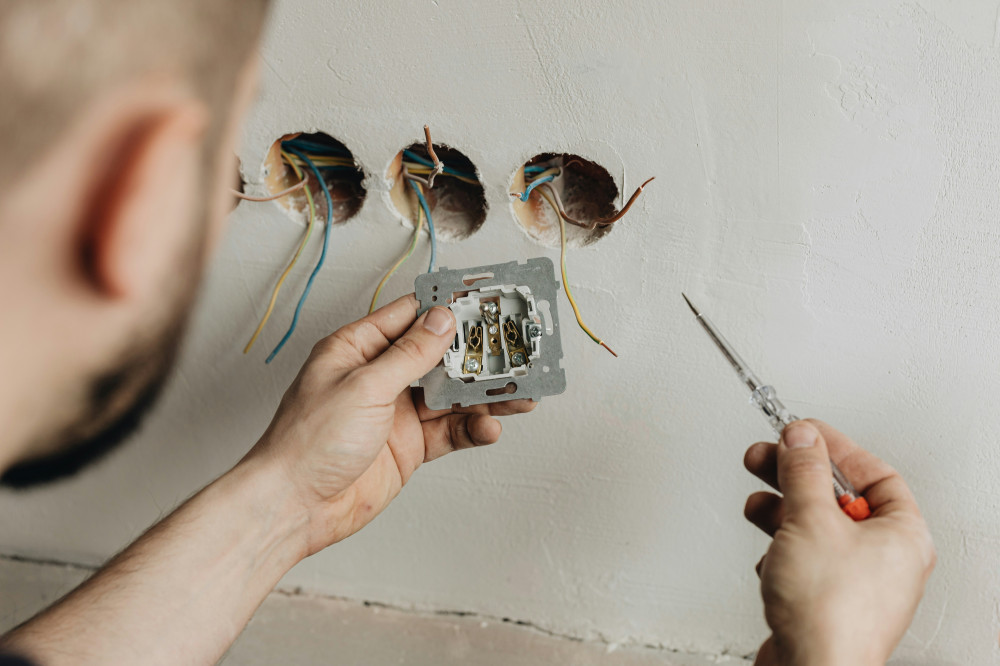
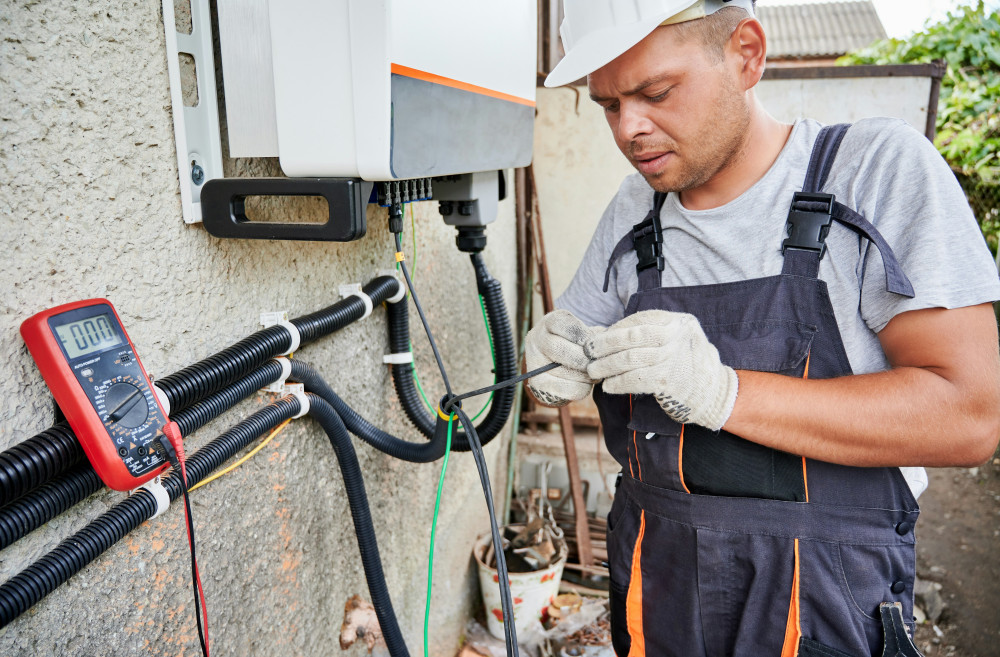
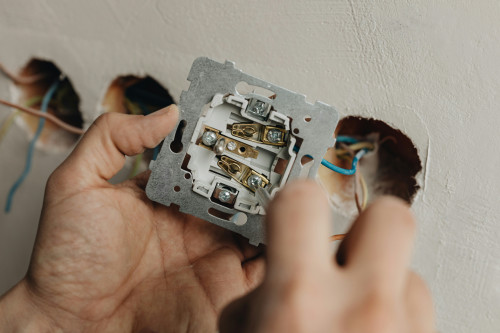
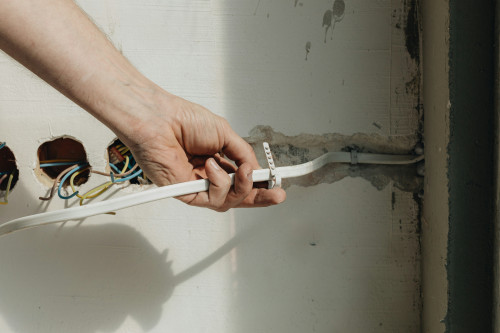
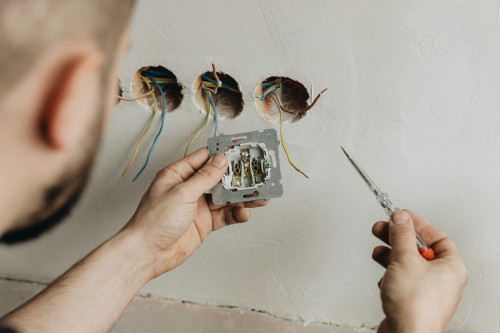
- Electrical and ventilation penetrations – even small openings can cause significant heat loss.
A good first step is to inspect these areas visually and feel for drafts or cold surfaces.
How to Detect Thermal Bridges
There are several ways to identify thermal bridges—from simple observations to advanced tools.
- Feel for drafts: Cold air around windows, doors, or outlets is a clear warning sign.
- Look for condensation: Moisture on windows or dark spots on walls may indicate hidden cold areas.
- Use an infrared camera: Thermal imaging reveals temperature differences on surfaces, making it easy to see where heat is escaping. Many energy auditors offer thermal imaging as part of a home energy assessment.
- Monitor your energy bills: A sudden increase in heating or cooling costs without a change in usage habits can signal heat loss.
The earlier you detect thermal bridges, the easier and cheaper they are to fix.
Fixing the Problem – From Simple Repairs to Major Improvements
Once you’ve found the source of heat loss, the right solution depends on how severe the problem is.
- Seal and caulk: Small gaps around windows and doors can often be fixed with new caulking or weatherstripping.
- Add insulation: If the issue lies in walls, ceilings, or floors, additional insulation may be needed.
- Upgrade windows: Replacing old single- or double-pane windows with energy-efficient models can significantly reduce heat loss.
- Seek professional advice: For larger or more complex issues, a building inspector or energy consultant can recommend the most effective solutions.
While some improvements require an upfront investment, they often pay for themselves through lower energy bills and improved comfort.
Preventing Thermal Bridges in the Future
If you’re planning a renovation or new construction, prevention is key. Make sure insulation is continuous and that joints between materials are properly sealed. Choose materials with low thermal conductivity, and pay attention to details like fasteners, brackets, and penetrations—even small metal parts can create thermal bridges.
A well-insulated, airtight home not only retains heat better in winter but also stays cooler in summer, providing year-round comfort.
An Investment in Comfort and Sustainability
Detecting and fixing thermal bridges isn’t just about saving money—it’s about creating a healthier, more sustainable home. By addressing these hidden energy leaks, you can reduce your carbon footprint, improve indoor comfort, and ensure that your heating and cooling energy stays where it belongs: inside your home.
Læs også: